How to install MySQL in Windows
Install MySQL:
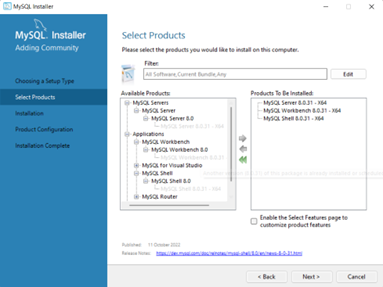
a) Install MySQL Server 8.0.31
b) Install MySQL Workbench 8.0.31
c) Install MySQL Shell 8.0.31
1. Open Google Chrome Browser
2. Type https://www.mysql.com/
3. Go to Downloads
4. Scroll down the page and find MySQL Community (GPL) Downloads
5. Search for MySQL Installer for Windows
6. Select the second option
7. Select No thanks, just start my download
8. Install mysql-installer-community-8.0.31.0 by double clicking on it
9. Select Custom Installation and click on Next
10. Select the Products and Click on Next
11. Click on Execute
12. Once installation completed then click on Next
13. Install Microsoft Visual C++ Redistributable for Visual Studio 2019 which is required for MySQL Installation. Since it is already available in our system, so it did show us
14. Click on Next
15. Enter MySQL Root Password and click on Next
16. Click on Execute and finish
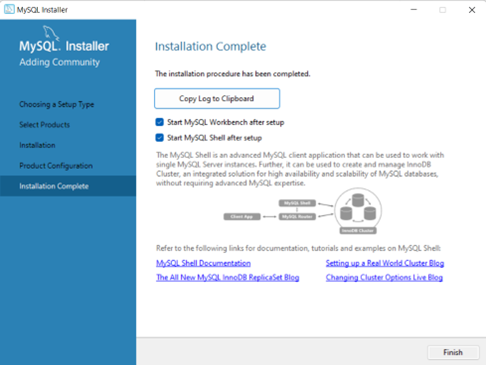
17. Before Clicking on Finish Button in below screenshot, set the path, first find in which location MySQL installed. For example, C:\Program Files\MySQL\MySQL Server 8.0\bin
18. To set the path Go to View Advanced System Settings >>> Environmental Variables >>> System Variable >>> Double click on Path >>>
19. Click on New and Paste the Path
20. Click on Finish
21. Open cmd
22. Type mysql –version
23. Type mysql -u root -p
24. Enter Password then MySQL will run
25. Type show databases; then default databases will be displayed
26. Type create database RaisDB
27. Open MySQL Workbench for creating Databases and practice


Comments
Post a Comment